

Have me walk you through the process of making this guy.
An 8+ hour video walk-through, a 40 page field guide, 3D rendered images to study 'thinking in 3D' and all the files.
“Love your work, discovered it a few weeks ago and instantly bought your Gumroad course. I've only had a chance to flick through the actual course but it's all great stuff, and the sketch notes alone are amazing - plenty of new lessons and valuable reminders!”
Have you ever thought...
- How do I exaggerate the shapes and make the character feel 'Stylized'?
- When/how do I shade things in certain ways to make them feel 'realistic' yet 'stylized'?
- What brushes should I use? (It's really not that important!)
- How do I steer away from the realistic photo reference and create my own character?
- How do I take a black and white painting and convert it to colour ('convert' isn't the right way of thinking about it btw)
You and me both my friend! So in this 8+ hour walk-through, my goal is to show you my answer to these questions in the context of illustrating this character from scratch.
Over 8+ hours of me walking you through the process.
Byt the end of this, you'll have a great understanding of how I went about creating this character from scratch.
The Sketch
Sketch clean up/line work
Local Values
Value Block In
Skin colour base
Face Render
Clothing rendering
Accessory details
Merge everything down and paint!
Lighting effects
Procreate Examples to follow


What you'll learn 🧠
By the end of this tutorial, you'll have an understanding of...
- What I'm thinking about when I'm simplifying and stylizing from photo reference
- The artists that were on my reference board for this illustration
- My thoughts around 'thinking in 3D' (accompanied by some 3D models to study from)
- How I think about line-work and some actionable tips to achieve 'dynamic' feeling line-work
- My thought process around inventing the illusion of light (rendering)
- How 'thinking clearly' leads to 'cleaner' work
- 'finishing' the illustration and adding those fun things like 'rim lights' etc
- Technical tips on layer modes & layer organisation (demonstrated in both Photoshop and Procreate but it applies to most painting software)
- All the tools I used
- I'll be sharing some of my recommended resources that personally helped me with topics like anatomy and rendering for you to dive deeper into
In this 7+ hour walk-through, my goal is to show you my answer to these questions in the context of illustrating this character from scratch.
3D models and Blender files of key forms included
I modeled up some 3D forms to help you study and 'Think in 3D' this has helped me in my journey so far, and I hope it'll help you see what I see.


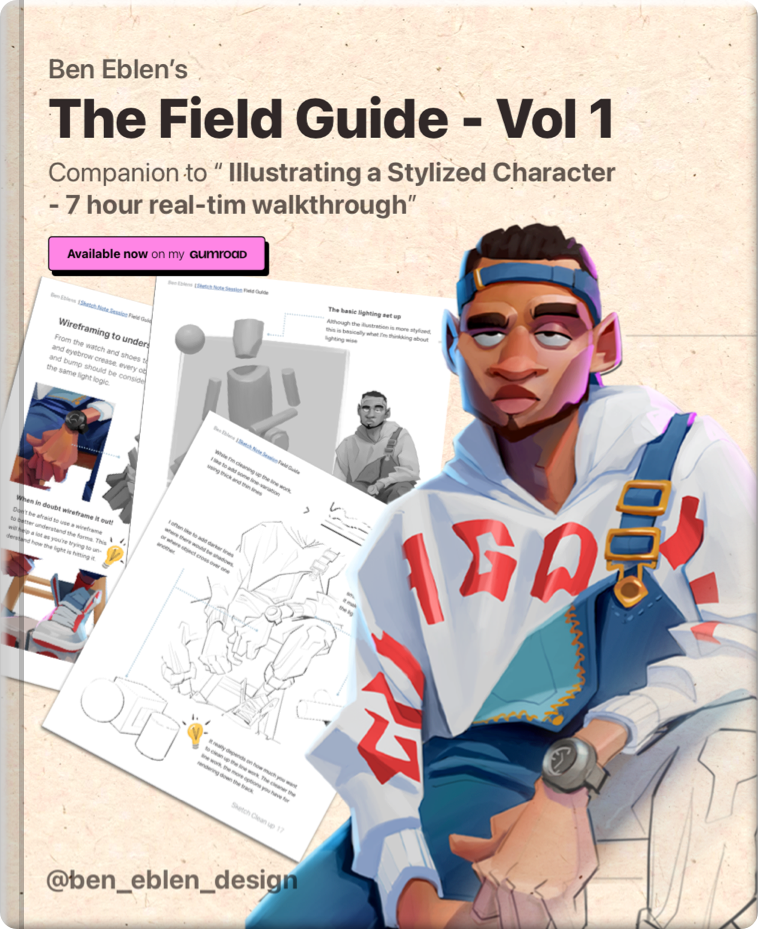
40+ page 'Field Guide'
I like to read when learning stuff, so I wanted to give you the same experience!
Included in the 'Complete Package'
Pricing
Something for everyone
The Complete Package
8+ hour real time walk-through
40+ page field guide
3D models as a study guide
The .PSD
.PSD and Field Guide
The PSD and PDF Field Guide
Just the file
The .PSD only